Search This Blog

Tuesday, July 16, 2013

Meringue Cookies

I hate wasting food.  It comes from my Mom guilting me into finishing every meal and cleaning off my plate and being grateful for it.  Even when I am full I have this guilty need to clean the plate or expect a lecture on gratitude and starving children in Africa if I don't.  I am the same way with my kitchen fridge and pantry.  I hate throwing away food and feel really guilty about it when I have to.  When separating eggs for a recipe I like to make two things so I can use both the egg yolks and the egg whites.  For example, when I make Macaroons (egg whites) I usually make pasta (egg yolks) at the same time.  Or in this case it was Pastry Cream (egg yolks) and Meringue cookies (egg whites).  

Meringue Cookies

  • 4 egg whites
  • 1 cup ultafine sugar
  • 1 tsp vanilla
  • 1/2 tsp vinegar
  • 1 cup chopped nuts (I used roasted Hazelnuts for this batch.  Pistachios also taste good.)
Makes 100+ small (1 inch round) cookies.  They are quick and easy to make, but take forever to bake.  An excellent cookie selection for whipping up (no pun intended) before church (3 hours) and taking them out of the oven when you get home.  I also like making these late at night so I can snack on them the next day.
Preheat over to 300 degrees.  Whip egg whites until stiff peaks form then add ultrafine sugar slowly, or 1 Tbs at a time, and whip until the egg whites are nice and glossy.
Whip in Vanilla and Vinegar.
Fold in Nuts.
Fill a piping bag and pipe out small 1 - 2 inch circles onto a parchment paper lined baking tray.
Place cookies in the oven (preheated to 300 degrees) then immediately turn the temperature down to 275  degrees.  Bake for 30 minutes then turn the oven off and do not open it for at least 4 hours for the cookies to completely dry out.  I usually leave them in the oven overnight.  DO NOT OPEN the oven at ANY time.  This is a long, slow, temperature sensitive process.
Confession time:  Opening the oven once did not ruin them.  I just know I'm not supposed to do it.
I would describe Meringue cookies as a light airy snack cookie that melts in your mouth and has a nice crunchy bit to them.  The 100+ cookie batch may seem like a lot to make at one time, but like chips, you can never have just one.
Enjoy.

Sunday, July 14, 2013

Hard Tack

Hard tack, pilot bread, ship's biscuit, sea biscuit, sea bread, dog biscuit, tooth dullers, sheet iron, worm castles, molar breakers, shingles, bread boards. These tough as nails and hard as rocks, inexpensive, long lasting, (questionably) edible, food stuffs were the most commonly issued ration during the Civil War. As a testament to the enduring power of hardtack there are many specimens  still on display in museums across the country. Still (questionably) good 150 years later. 


Hardtack

  • 2 cups Flour
  • 3/4 cup water
  • 3/4 tsp salt
  • 1 Tbs Shortening
This makes about 6 crackers so I usually double the recipe.

Mix all the ingredients together until it forms a dough. 
Roll out dough to 1/2 " thick and cut out 3" x 3" squares then puncture 4-6 holes across and 4-6 holes down. These punctures are necessary for proper baking and moisture removal. 
Bake at 400 degrees for 30 min on a non greased pan, flip crackers over and bake for another 30 min. (that's 30 minutes each side at 400 degrees ).
 The next day you need to bake them again to completely dry them out (30 - 45 min at 225 degrees) . Done. 
Store in cloth, wax paper, parchment paper, haversack, tupperware, etc. I have mine in a cookie jar. I read somewhere not to store them in a plastic zip lock bag for any length of time because this can promote mold . Salt is optional. It makes them taste better, but a lot of the older recipes did not use salt.

Hard tack is not  bad, a little bland but it will keep ya going.  When I have it in the house I find that I do have cravings for it.  The dough is also good eating.
Enjoy.

Wednesday, July 10, 2013

Italian Ice Lemonade

I wanted something cool and refreshing to serve at our Civil War picnic.  I am an ice-cream-oholic, but alas have no ice cream machine. Tragically sad I know, until I found this simple recipe that satisfied my love of cold sweetness.  I thought it would hold its own at an outdoor picnic better than quick melting ice cream.  The best part, aside from eating it, is that it only has 3 ingredients and is a quite easy to make.  In the end my icey dessert went over very well.  Mom loved it and that is all the approval I need.  

Italian Ice Lemonade

  • 3 cups water
  • 1 cup sugar
  • 1 cup lemon juice (about 5 lemons)
  • Add sugar to water and simmer until sugar is dissolved.  Add lemon juice.  Pour into 3+ ice cube trays.  Freeze overnight.  Food processor lemonade ice cubes until slush.  Serve.
3 ingredients:  Water, sugar, and lemons (Dalek cookie jar highly recommended, but optional).
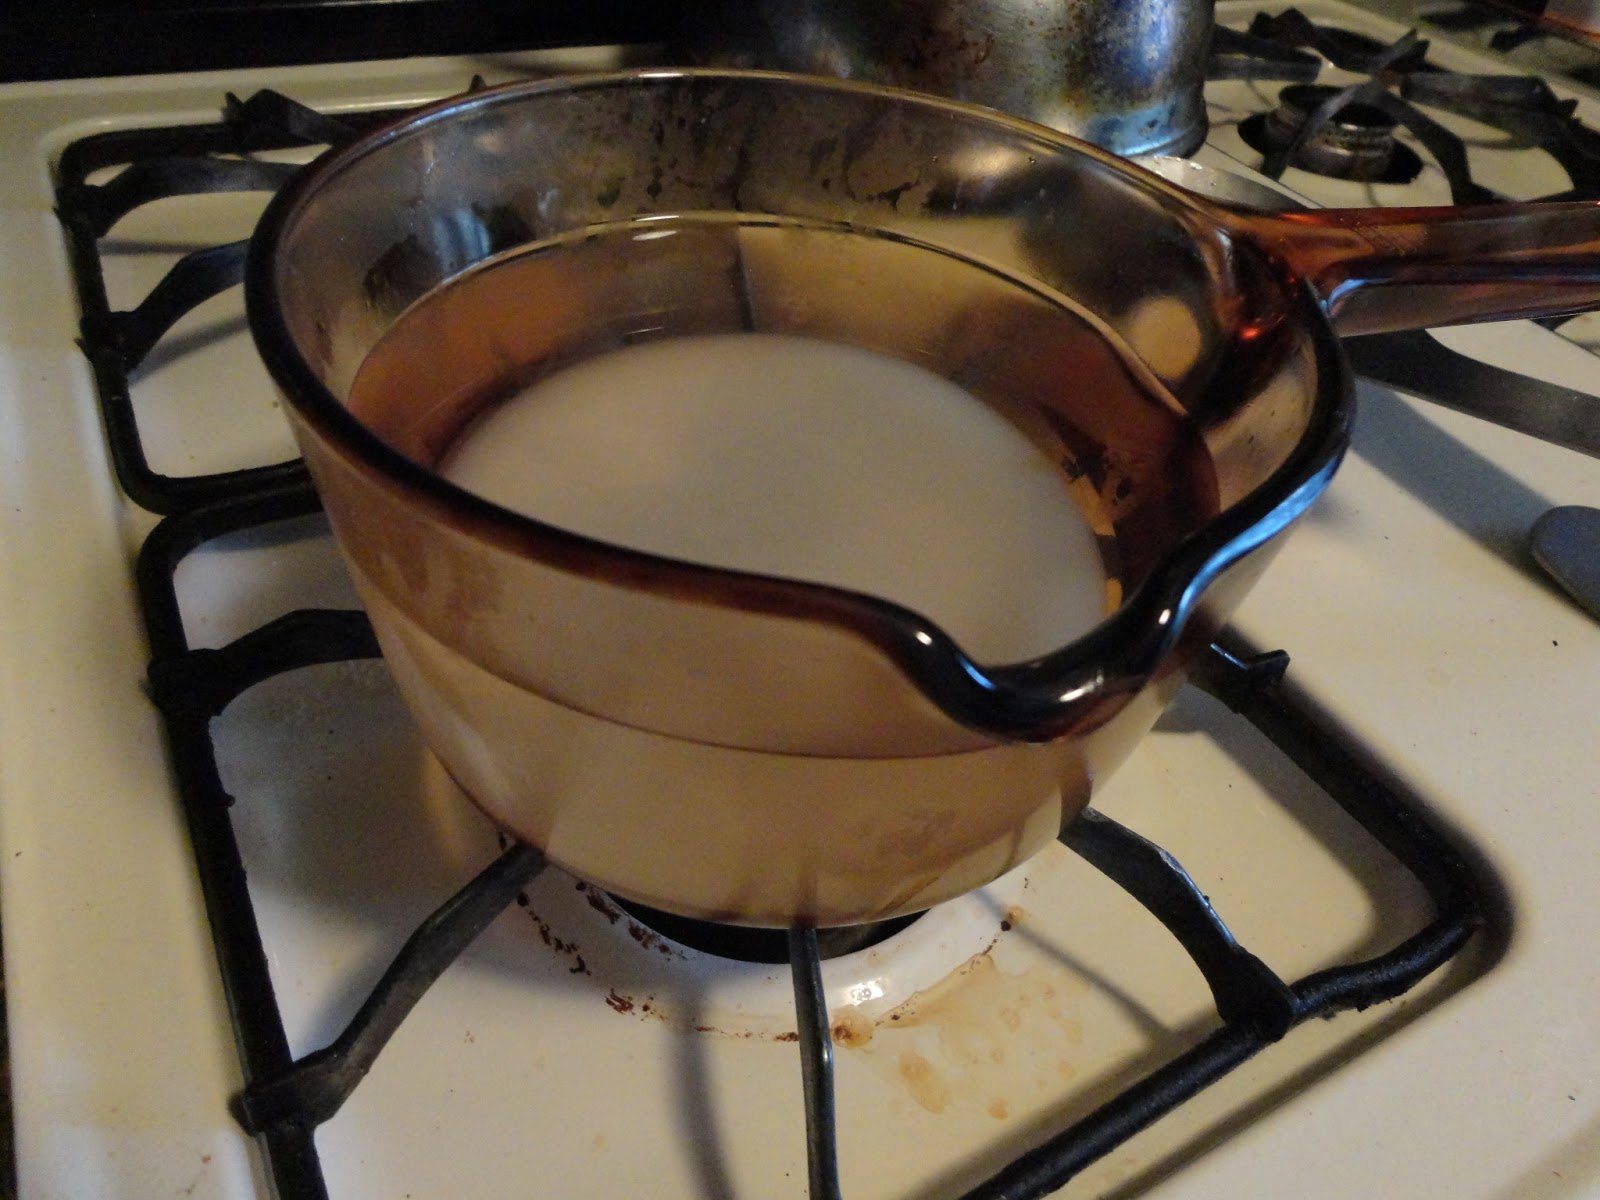
Add sugar to water and simmer until sugar is dissolved.
Juice those lemons. It took me 5 lemons to get 1 cup of lemon juice.
Strain out the yucky bits (aka pulp) so you have a nice clear lemon juice to add to the sugar-water and mix briefly.
Pour lemonade into ice cube trays and freeze overnight.
Add the ice cubes to a food processor.
Process until they turn to snowy slush.
Ideally it should be served immediately but I was able to store the slush in an ice packed lunch box for a few hours until the picnic.  I also stored a jar in the freezer for J until he got home from work and that also worked.
A cool refreshing picnic dessert for a hot summer day.
Enjoy.

Saturday, July 6, 2013

Mommy Daughter Day: A Civil War Picnic

19th Century Civilian Picnic June 22nd, 2013 at Thanksgiving Point Gardens, Lehi, Utah.  
This was our Mother Daughter Outing.  I actually got my Mom to wear some of my Civil War clothes.  This was the first time she ever dressed up to go on a picnic.  I don't think she was expecting the random people pointing and taking pictures of us, but I am so used to these sort of things that it didn't occur to me to warn her beforehand.  She had a good time though and compared it to what a Disneyland Princess must feel like, wearing a strange dress and stopping and posing for random strangers to take pictures.
I came up with a fun picnic menu for us.  Blueberries and Strawberries with home-made whipped cream, cheddar cheese and sausage slices, bacon cheddar scones, feta yellow squash and sweet potato quinoa salad, and Italian Ice Lemonade for dessert.
My friend Rachel set this event up.  She is good at arranging events.  Here she is with her darling baby Kenna in Regency era gown.  I love the stripes.
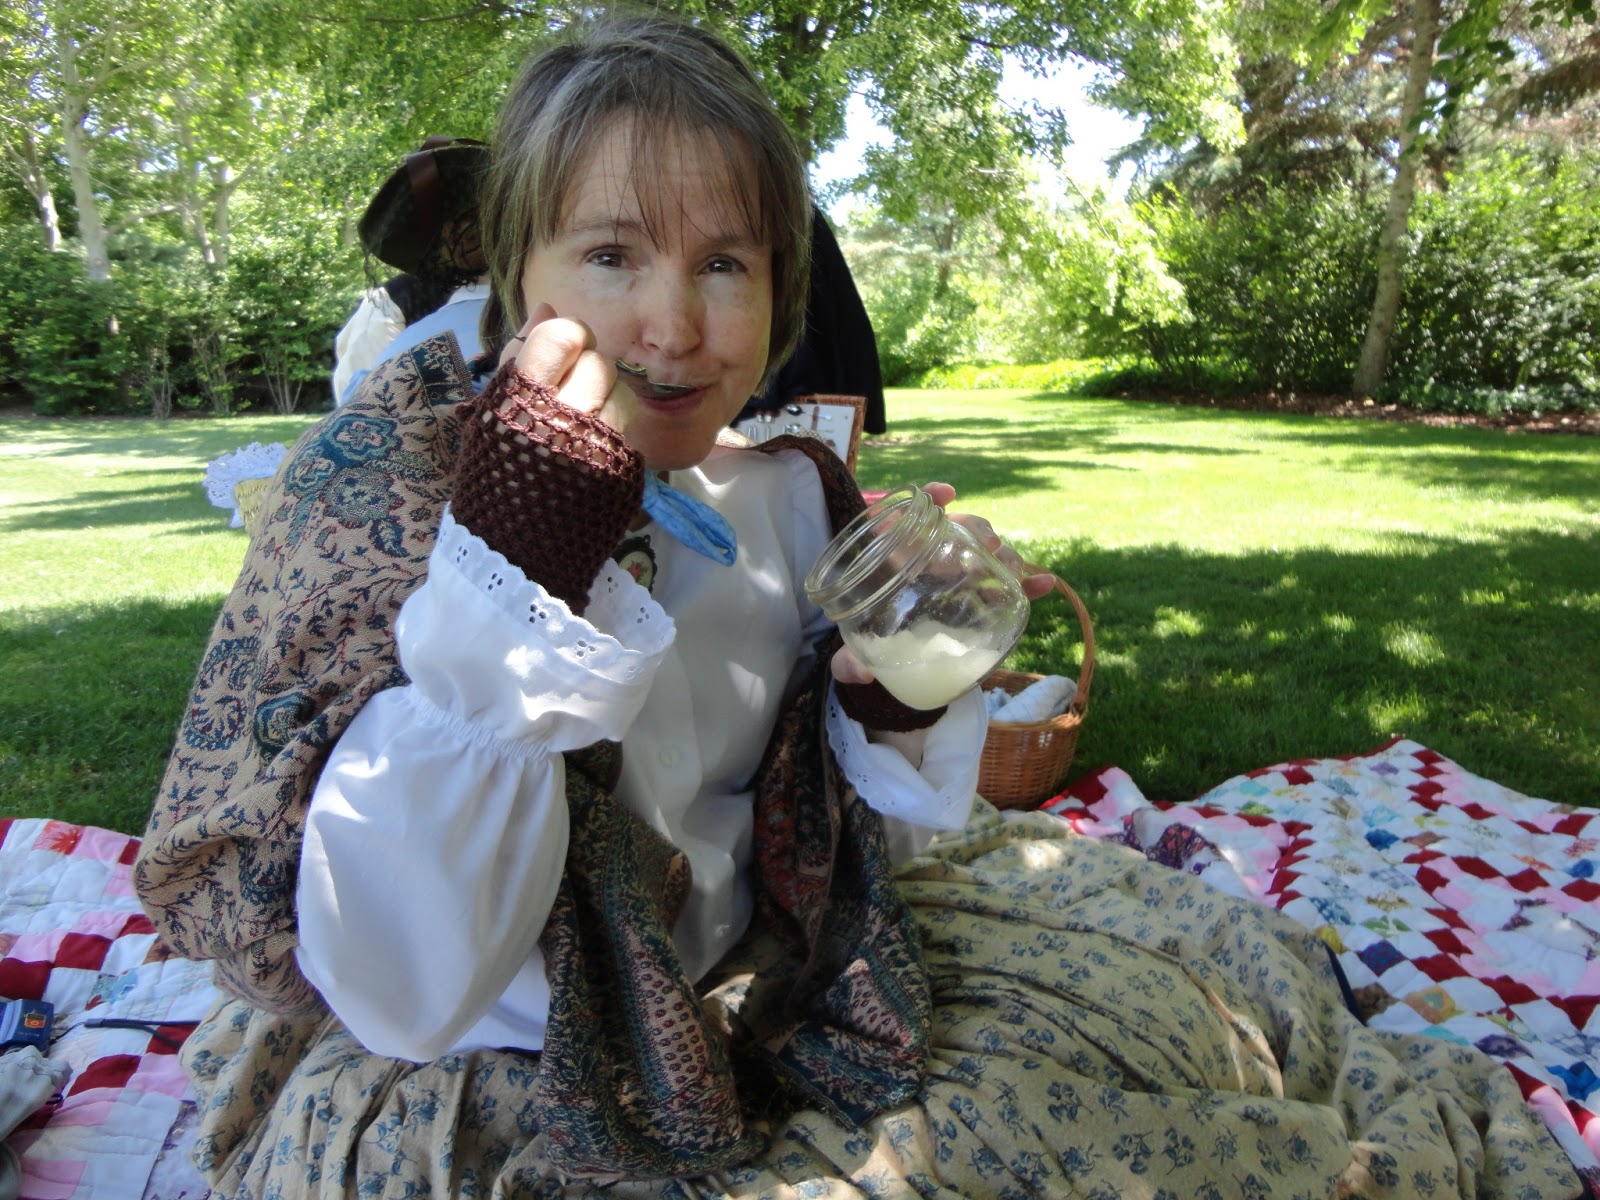
Mom really liked the Italian Ice Lemonade.
The kids played jump rope.
Here I am showing off my new picnic basket.  I embarked upon a two month long quest to find the perfect picnic basket for this day.
Jackie and Chip had an equally impressive picnic basket.
Here is Mom looking picturesque on the Monet garden bridge.
Mary Ann and her friend also went with the regency style.
Mom and I in the rose garden with parasols.  A lady should always bring a parasol and wear a hat and gloves when out and about.  It is the proper thing to do.
Here are a few more idealic picnic group photos.

Mom's favorite part of the day was when Kelsey pulled out her violin and starting playing.  She's a very good violinist.
It is nice to sit in the shade.


I did not teach Mom about our "No Cell Phones" policy.  But since this is her first time playing dress up 19th Century style I thought I would let it slide.
When we got home my niece Gracie wanted to play dress up as well.
Maybe someday she will take up re-enacting with me.
She sure looks the part of a Civil War lady complete with hat, gloves, and parasol.
She was so cute I wanted to bring her home with me.  Look, she even fits in my carpet bag.