Last Sunday I made meatloaf.
I used one pound of hamburger and one pound of ground turkey and seasoned them with garlic salt, pepper, Italian Seasoning, Worcestershire sauce, and a little bit of lemon juice. I put Italian Seasoning in everything. It is my favorite spice.
Then I mash it up into chunks to more evenly spread out the seasoning.
Then I added 2 eggs, 1 can (14 oz) of evaporated milk for moisture.
Followed by a whole package of saltine crackers and half an onion, diced.
Mix that all together.
Form it into a lump and put it on a pan. Here is where you learn from your mistakes. Put the meatloaf on tinfoil sprayed with Pam over the pan, not on the pan directly. Then you will not have to spend the next two days scrubbing baked on BBQ sauce off the sheet tray until you give up and call it good.
Cover the meatloaf with about 1/4 cup BBQ sauce. It gives it a more tangy flavor than ketchup, I think.
Bake at 350 degrees for about 45 - 55 min. Note the baked on BBQ sauce that I gave up on trying to scrub off.
Here is my adorable husband enjoying his meaty goodness.
Meatloaf and cheesy potatoes. Comfort food that my Momma used to make.
And the best part is that we still had leftovers to eat for the next three days. There is only two of us so a big meal can last a few days. I can eat cold meatloaf for breakfast anytime. Love the stuff.
Baking, Cake Decorating, Civil War Re-enacting, and everything that goes in between.
Search This Blog
Monday, September 24, 2012
Sunday, September 23, 2012
Butter
Home made butter is easy. I used 2 cups of heavy whipping cream and ended up with 1 cup of buttermilk and about 1 and 1/2 cups of butter. I made unsalted butter so I can use it in my baking.
The key to making butter is to whip it. Whip it good.
This is the whipped cream stage. To make sweet whipped cream I add 2 Tbs powdered sugar and 1 tsp vanilla extract to my 2 cups of heavy whipping cream. This is a great topping for desserts. But we are not making whipped cream this time. We are making butter. Continue to whip it.
Continually whipping the heavy cream on high, past the whipped cream stage, and it starts to separate and look grainy. Keep whipping.
Finally when it separates you are done. The liquid part is buttermilk and the solid is butter.
Drain the whole mess through a strainer over a bowl.
Mash the butter down a bit to get all the buttermilk out.
This is buttermilk. Keep it.
Fresh buttermilk has a more mild flavor than store bought. It is best stored in the refrigerator for about a week. I used it to make pancakes. I also store things in empty ice cream containers.
Take the strained butter and put it in ice water.
Mash the butter with a wooden spoon into small chunks.
The key to making butter is to whip it. Whip it good.
This is the whipped cream stage. To make sweet whipped cream I add 2 Tbs powdered sugar and 1 tsp vanilla extract to my 2 cups of heavy whipping cream. This is a great topping for desserts. But we are not making whipped cream this time. We are making butter. Continue to whip it.
Continually whipping the heavy cream on high, past the whipped cream stage, and it starts to separate and look grainy. Keep whipping.
Finally when it separates you are done. The liquid part is buttermilk and the solid is butter.
Drain the whole mess through a strainer over a bowl.
Mash the butter down a bit to get all the buttermilk out.
This is buttermilk. Keep it.
Fresh buttermilk has a more mild flavor than store bought. It is best stored in the refrigerator for about a week. I used it to make pancakes. I also store things in empty ice cream containers.
Take the strained butter and put it in ice water.
Mash the butter with a wooden spoon into small chunks.
Strain it again to get all the cold water out.
Mash it into the strainer to get as much water out as you can. Do not save the butter water, you can throw that out.
Put the butter onto wax paper.
Roll up butter into wax paper and store it in the refrigerator for about 2 weeks or in the freezer for a few months.
Fresh home-made butter.
Sunday, September 9, 2012
Pasta for Two
Spaghetti (or Pasgetti for the young at heart)
It is just J, Takashi, aka Wo-hoke-ah-show (Translation: The Stomach That Walks) and I. I have difficulty cooking for two. Growing up in a family of seven (being the oldest child, I am therefore the responsible one) cooking and shopping for a lot of people comes naturally. It wasn't until a few months into our newly wedded life that the realization that the giant 5 lb block of bulk cheddar was not disappearing as fast as it did at my parents house, it then dawned on me that I no longer lived in a house full of people and J and I really could not eat that much cheese. Thank you Mr. Peterson, for forcing me to learn the math skills to cut recipes down to 1/2 and 1/3 so that I can make a dinner that we do not have to eat every night for the rest of the week. I was super excited when I found this recipe for pasta for two. I love making fresh pasta. I don't think I have posted an example of my pasta making skills yet, so here I go.Pasta for Two. Tonight I utilized it for spaghetti.
3/4 cup all purpose flour
1 egg
Splash of olive oil
Pinch of salt
Measure out 3/4 cup flour on a table top with a pinch of salt and make a well in the center of the flour.
Add in that flour well one egg and a splash of extra virgin olive oil.
Scramble the egg, olive oil, and slowly incorporate the flour from the inside of the well.
When it is thick enough break and flour well and smush it all together into one lump.
Get your hands wet with cold water and start kneading, incorporating the flour on the table.
Knead the pasta dough for 5 - 10 min until smooth. You may need more water.
Wrap dough ball in plastic wrap and let it sit at room temperature for an hour, or refrigerate if you do not plan on using it immediately. You can keep it in the refrigerator overnight or a few days if you need to.
Roll out pasta dough. It is easier if you roll it out first before running it through the pasta machine.
My beloved husband got me this pasta machine attachment to my glorious green kitchen aid that my wonderful parents got for me. I love it that my family supports my cooking obsession. Run pasta through until it is long and thin.
As my darling husband does not like eating one gargantuanly long noodle, cut the pasta sheet into sections.
Run it through the spaghetti attachment. I call this Spaghettifying. If you do not have a pasta machine (you poor Dear), roll the pasta dough out as thin as you like and cut it into strips. Having used both methods, and since one of my goals in life is to serve the future Robot Overlords, I like the spaghetti machine better.
Spaghettification. Also when I make lasagna noodles I spaghettify the rest of the pasta to use for later.
At this point the noodles can be used immediately or stored in the refrigerator in a gallon zip lock bag for up to a month.
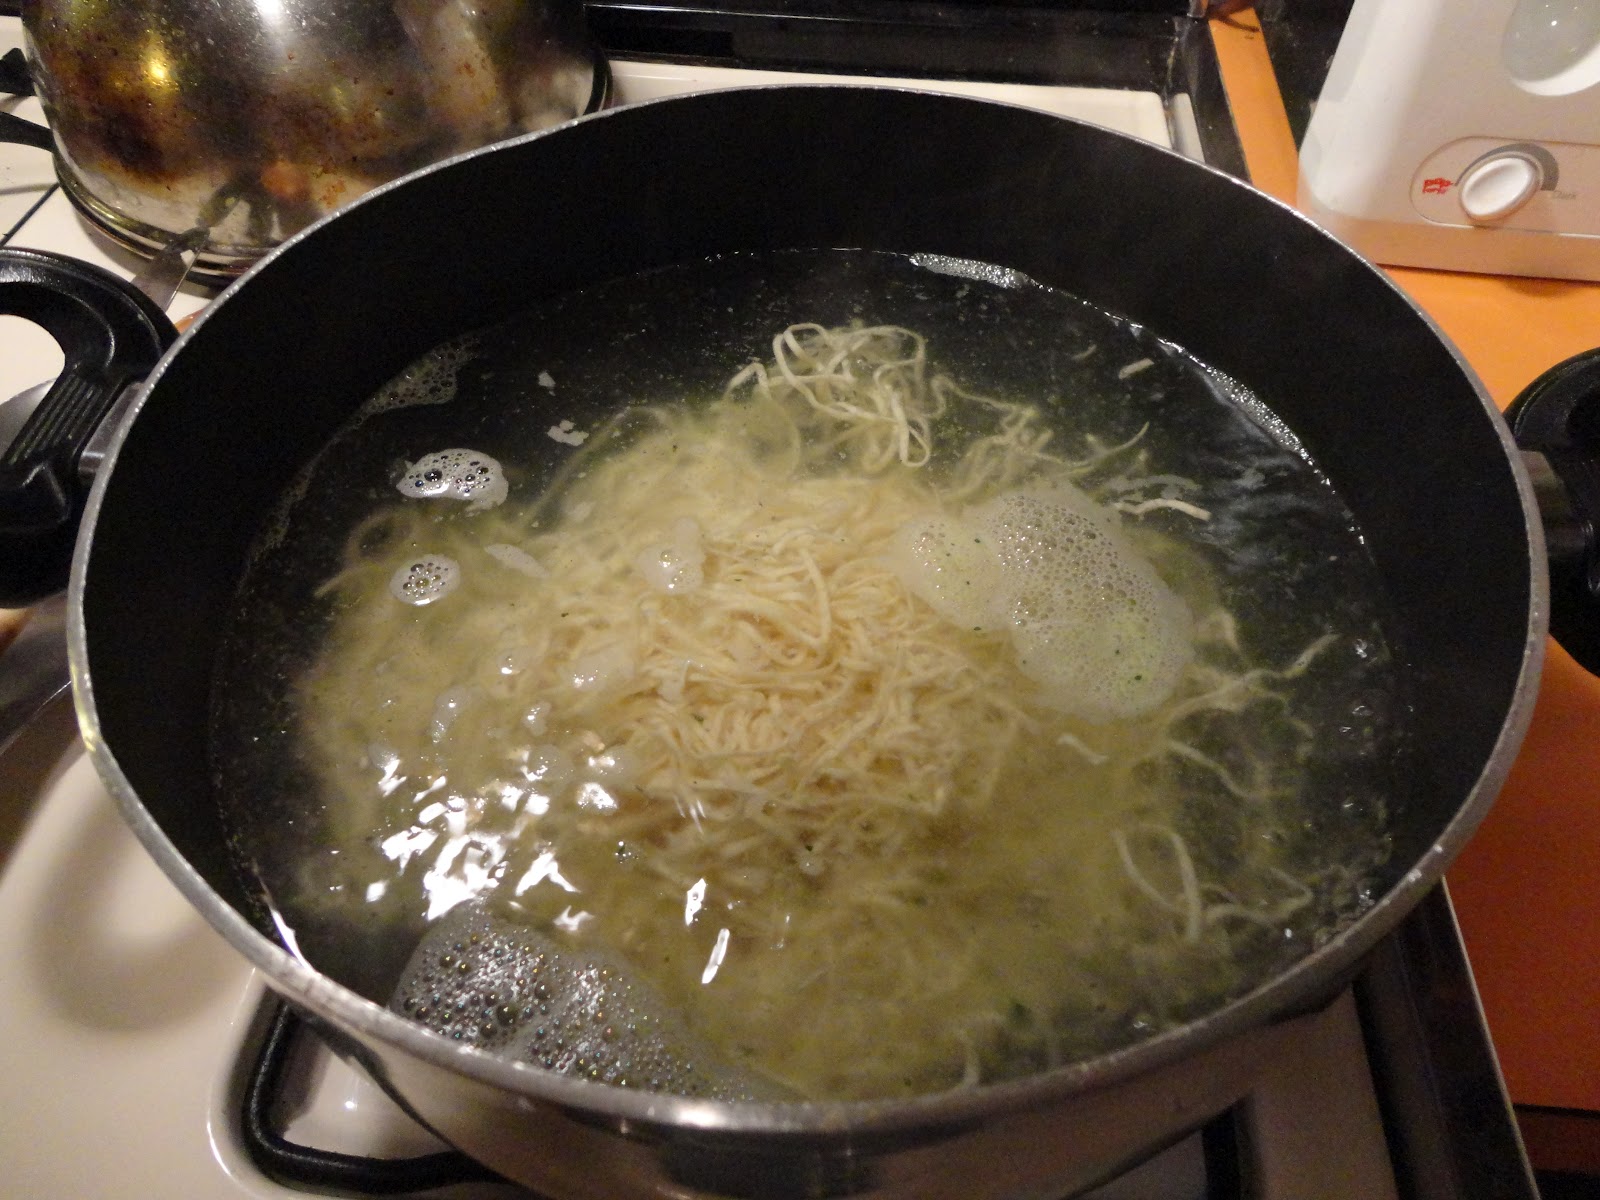
Boil for three minutes.
Ahhh! just like Mama used to make back in the olde country. Toss with green onions, tomatoes, garlic, and parmesan cheese. I do love cheese, just not too much cheese.
For dessert we had caramel cake with whipped cream.
Sponge Cake:
3/4 cup butter, room temperature, softened, or melty.3/4 cup sugar
3 eggs
2 tsp vanilla
1 and 1/2 cup self rising flour
Beat together butter and sugar, add eggs and vanilla, add flour and mix together. Bake at 350 degrees for about 20 minutes.
Caramel:
Cook one 14 oz can of sweetened condensed milk in a crock pot, covered in water, on low for about 8 hours. Refrigerate for 3+ hours or overnight.Whipped Cream:
1 cup heavy whipping cream1 tsp vanilla
1 Tbs powdered sugar
Whip it until it is cream and refrigerate.
Monday, September 3, 2012
Cream of Potato Soup with Bacon
This is a clam chowder recipe. I had potatoes, bacon, and heavy cream on hand but no clams so I turned it into a cream of potato and bacon soup. This is also a nice one pot recipe.Into one large pot add:
1 ration of bacon cut into small-ish pieces and fried crispy. Remove to drain and set aside.
Add 1 onion and a few sticks of celery finely chopped to the rendered bacon fat and saute for about 5 min. Like Momma always says "Never let good bacon fat go to waste".
Chop garlic and add to the pot and saute for about 30 seconds.
Add 1/4 cup flour to cover the vegetables and cook for about a minute.
Gradually whisk in 2 cans of vegetable/beef/or chicken broth
Add 7 to 8 diced potatoes.
Bring pot to a simmer and cook for an additional 15-20 minutes until the potatoes are soft.
Add 1 cup heavy cream and season to taste with salt and pepper.
Add back the crispy bacon and some parsley for garnish.
Enjoy.
Ricotta
I made Ricotta Cheese this week. It is pronounced Re-Co-Ta with an Italian accent in three syllables and emphasis on the "T". I am from Utah. I have a Utah accent, for which my husband ridicules me relentlessly. I pronounce it Rick-ada with two syllables and no discernible "T" because as a Utah native I replace all the "T"'s with "D"'s in words and run them together (ahhh regional colloquialisms).
6 cups Whole Milk, not vitamin D milk, or 2% milk, but whole cream in milk. It took some time but I finally found it at Sprouts, formerly known as Sunflower Market.2 Tbs vinegar
1 tsp lemon juice. I think they meant fresh squeezed lemon juice, but I used bottled lemon juice and it had the same effect.
A pinch of salt for taste. The first batch I did not use any salt and it was a bit bland so I added some sea salt to the second batch and that helped it quite a bit. A gallon of whole milk makes 2 and 1/2 batches of ricotta or about 3 to 4 cups.
Heat milk to 180 degrees over medium heat, that is almost to a boil, but not boiling yet. I used a candy thermometer to get the right temperature. Remove milk from heat and add 2 Tbs vinegar, 1 tsp lemon juice, and a pinch of salt.
The milk will begin to curdle instantly. Let it sit for about 5 minutes.
Drape a strainer with 3 layers of cheese cloth.
Scoop out ricotta cheese curds with a slotted spoon into the cheese cloth, or just pour the whole pan in to strain it all at once. I do not know what to do with the extra whey yet, so I just drained it down the sink.
Fold up the sides of the cheese cloth and tie it onto a spoon (Note: Artfully fire hardened wooden spoon, so rustic) over a large bowl to let the whey drip out. Let it sit for an hour or two as to completely drain. Unwrap the ricotta and store it in an air tight sealed container in the refrigerator. It is good for about a week.
I made lasagna.
Then I added the rest to some sausage, green onions, and pasta.
Delicious and easy to make at home rich ricotta cheese. Enjoy.
Subscribe to:
Posts (Atom)